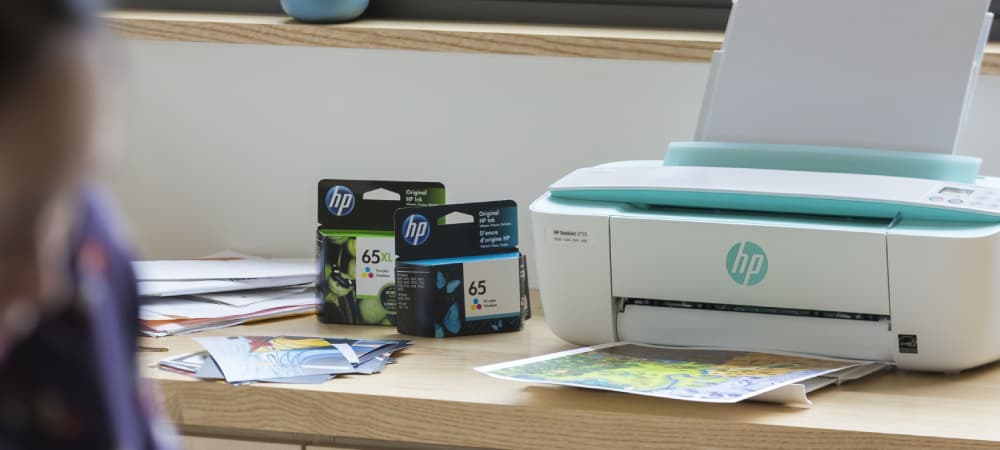
HP printers are renowned for their reliability and performance. However, like any electronic device, they can encounter issues from time to time. In this article, we will provide you with a step-by-step guide to Diagnose HP printer problems and offer solutions to get your printer back up and running smoothly.
Step 1: Check the Power Connection
The first step is the most basic one. Ensure that your HP printer is properly connected to a power source. Check the power cable, the power outlet, and the printer’s power button. If there’s no response, try a different outlet and cable.
Step 2: Inspect for Error Messages
If your printer displays an error message on its screen or through its software, take note of it. Error messages often provide valuable information about the issue, and you can search online for specific solutions based on the error code.
Step 3: Examine the Paper Tray and Cartridges
Problems related to paper jams or empty ink cartridges can cause printing issues. Ensure that the paper tray is loaded with the correct paper size and type. Check ink or toner levels and replace cartridges if they are low or empty.
Step 4: Verify Network and Connection
If you’re using a networked printer, make sure it’s properly connected to your network. Check Wi-Fi or Ethernet connections and restart your router if needed. For USB-connected printers, ensure the cable is securely plugged in.
Step 5: Print a Test Page
Many HP printers have a self-test or diagnostic page feature. Use your printer’s manual or online resources to learn how to print a test page. This can help identify and isolate printing issues.
Step 6: Update or Reinstall Drivers
Outdated or corrupted printer drivers can cause problems. Visit the HP website to download the latest drivers for your specific printer model. Uninstall the existing drivers before installing the new ones.
Step 7: Clear Print Queue
Sometimes, print jobs can get stuck in the print queue, causing delays. Open the print queue on your computer and cancel any pending print jobs. Restart your computer and try printing again.
Step 8: Run HP Print and Scan Doctor
HP offers a free tool called HP Print and Scan Doctor, which can automatically diagnose and resolve common printing problems. Download and run this tool to identify and fix issues.
Step 9: Clean the Print Head
If your prints are smudged or have streaks, your print head may be dirty. Consult your printer’s manual for instructions on how to clean the print head. This can often resolve print quality issues.
Step 10: Contact HP Support
If you’ve tried the above steps and are still facing problems, it’s time to reach out to HP support. Visit their official website or call their customer support for further assistance. They can guide you through advanced troubleshooting or arrange for a service technician if needed.
Diagnosing and resolving HP printer problems can be a straightforward process if you follow these step-by-step solutions. By systematically addressing the issue, you can get your HP printer back in working order and continue enjoying high-quality prints
Setting Up Your HP Printer on Windows and Mac: A Comprehensive Guide
In the digital age, convenience is paramount, and setting up your HP printer should be no exception. Whether you’re a Windows user or a Mac enthusiast, this comprehensive guide will walk you through the process of setting up your HP printer effortlessly on both platforms.
Windows Setup: A Step-by-Step Guide
Step 1: Unbox and Prepare Your HP Printer
- Unbox your HP printer and ensure all the components are present.
- Connect the power cable and turn on the printer.
Step 2: Install Printer Drivers
- For Windows, your operating system may automatically detect and install basic drivers. However, it’s recommended to install the latest drivers from the HP website.
- Visit the official HP website and search for your printer model.
- Download the compatible Windows drivers and follow the installation instructions.
- Connect your printer to your PC using a USB cable if prompted during installation.
Step 3: Connect to Wi-Fi
- On your printer, access the Wi-Fi settings and connect to your Wi-Fi network.
- Once connected, you can disconnect the USB cable if you used one for installation.
Step 4: Test Your Printer
- Print a test page to ensure everything is functioning correctly.
- You’re now ready to enjoy wireless printing from your Windows PC.
Mac Setup: A Step-by-Step Guide
Step 1: Unbox and Prepare Your HP Printer
- Unbox your HP printer and check for all included components.
- Connect the power cable and power on your printer.
Step 2: Install Printer Drivers
- For Mac, the operating system should detect your printer automatically and provide basic drivers. However, it’s recommended to install the latest drivers from the HP website for full functionality.
- Visit HP’s official website 123.hp.setup and search for your specific printer model.
- Download the compatible Mac drivers and follow the installation instructions.
- Connect your printer to your Mac using a USB cable if prompted during installation.
Step 3: Connect to Wi-Fi
- Access your printer’s Wi-Fi settings and connect it to your Wi-Fi network.
- Once connected, you can remove the USB cable if used during installation.
Step 4: Test Your Printer
- Print a test page to ensure all features are working seamlessly.
- Now, you’re all set to enjoy wireless printing from your Mac.
Additional Tips
- Ensure your Wi-Fi network is stable and that your printer is within the network’s range.
- Keep your printer drivers up to date to enjoy the latest features and improvements.
- If you face any issues during setup, consult your printer’s manual or visit the HP website for troubleshooting guides.
- For advanced features and mobile printing, explore the HP Smart App available for both Windows and Mac users.


