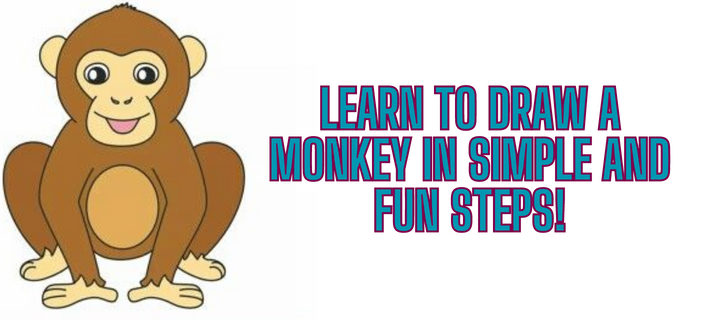
If you have always wanted to learn to draw and you are looking for a fun and easy project, you have reached the right place! In this article, we will show you how to draw a monkey in simple and fun steps. It doesn’t matter if you are an absolute beginner or if you already have experience in the drawing, this tutorial will help you create an adorable drawing of monkey in a short time. So let’s start!
Why learn to draw a monkey?
Learning to draw a monkey can be an excellent way to improve your drawing skills. This tutorial will show you not only how to create the basic form of a monkey, but also how to add details and shadows to make your drawing more realistic. In addition, drawing animals can be very fun and relaxing, allowing you to express your creativity and enjoy the creation process.
What materials will you need?
● Pencil
● paper
● A eraser rubber
Step 1: Drawing the contour of the body
The first step to draw a monkey is to make the basic contour of the body. Start drawing two overlapping circles: one large for the body and a smaller one up for the head. Connect the two circles with curved lines to create the shape of the monkey’s body. Do not worry about the details at this stage, just focus on obtaining the general form.
How to make the contour easily?
If you have difficulty contouring the body precisely, you can help you drawing basic forms. For example, you can draw or identify shapes such as ovals, circles and rectangles that are similar to the sections of the monkey’s body. Then, you can join these forms to obtain the contour of the body.
What details can you add to the body?
Once you have the contour of the body, you can add some details to make your monkey drawing more interesting. For example, you can draw a small curved tail in the posterium of the monkey’s body. You can also add some curved lines to create the appearance of a fur.
Step 2: Drawing the head and face
After contouring the body, you can draw the head and face of the monkey. Start drawing two small circles near the top of the body shape to represent the eyes. Then, draw a small oval shape under the eyes to represent the nose.
How to draw your eyes and nose?
To draw your eyes, be sure to leave a blank in the center of each circle to represent the reflected light. Then, you can use your pencil to shade the area around these lights, thus creating the appearance of brightness in the eyes. For the nose, simply draw an oval shape slightly inclined under the eyes.
How to draw your ears and mouth?
To draw the ears, simply draw two small triangular forms on the top of the head. You can add small details inside the ears, such as some curved lines, to give them a more realistic appearance. For the mouth, draw a small curve under the nose to create the appearance of a smile.
Step 3: Adding the details
Now that you have drawn the body, head and face of the monkey, it is time to add some additional details to make your drawing even more interesting. For example, you can draw the hair or monkey’s fur by adding some curved lines on the edges of the body and head. You can also draw the hands and feet of the monkey adding oval shapes at the extremities.
How to draw hair or fur?
To draw the hair or monkey fur, simply add some curved lines on the edges of the body and head of the monkey. Play a bit with the shape of these lines to create a more realistic appearance of hair or fur. Do not worry about doing it perfect, since monkeys can vary in texture and shape.
How to draw hands and feet?
To draw the hands and feet of the monkey, simply add oval shapes at the ends of the monkey’s limbs. These forms will represent the palms of the hands and soles of the feet. Remember that the fingers of the monkeys are usually long and thin, so be sure to include these details.
Step 4: Adding shadows and lights
To give a more realistic look to your monkey drawing, you can add shadows and lights. For the shadows, identify the direction of light in your drawing and shade the areas that would be in shade. You can use simple or technical strokes such as blurred or crossed to give depth to the shadows. For the lights, leave areas without shadow or use a draft to create reflexes and lights in certain areas.
How to use the shading technique?
shadow can be as simple or complicated as you want. You can choose to shade with simple strokes following the shape of the object or you can use techniques such as blurred or crossed to create softer and more detailed effects. Experiment with different shading styles to find the one that works best for you.
How to highlight certain areas with lights?
To highlight certain areas with lights, simply leave areas without shade or use a draft to create reflexes and lights. Identify the areas of your drawing that would be more exposed to light and leave them without shadowing. You can also add small glitters or reflexes using your draft.
View website: https://coloringgamesonline.com/monkey-eating/


